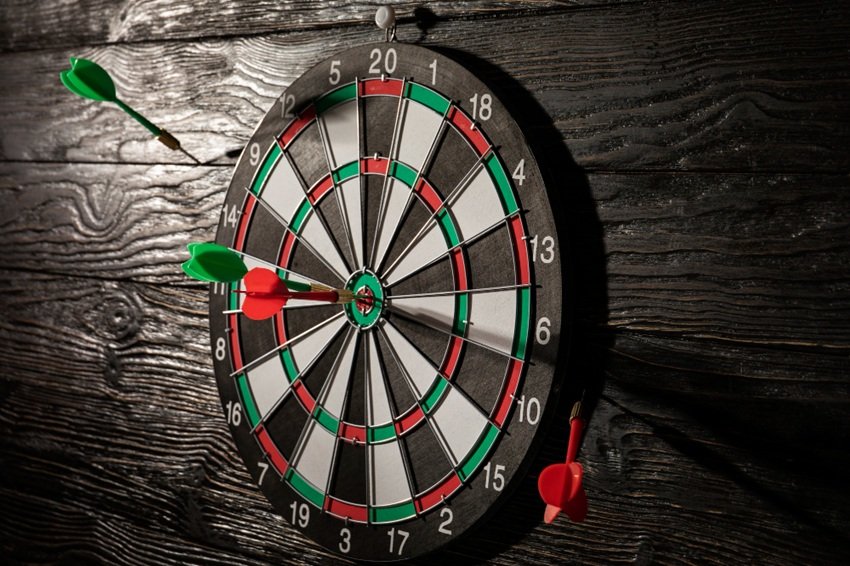
How to Hang a Dartboard at Home: Tips for the Best Setup

If you’re a fan of darts, having your own dartboard at home can be a fantastic way to practice your skills or enjoy some friendly competition with family and friends. But before you start throwing darts, setting up your dartboard correctly is crucial to ensuring a safe, accurate, and enjoyable playing experience. Whether you’re hanging it in a game room, garage, or living space, following a few key tips will help you create the perfect dart setup at home.
Here’s how to hang a dartboard like a pro, while protecting your walls and ensuring optimal gameplay.
1. Choose the Right Location
The first step in setting up your dartboard is finding the ideal spot. You’ll need a space that’s free from obstacles and offers enough room for both the dartboard and the players. Choose an area with plenty of clearance to avoid any damage to walls or furniture. A game room, garage, or even a basement can be excellent locations for your setup.
Make sure the floor in front of the board is clear of fragile items, and leave enough space behind the throw line for players to stand comfortably. Ensure the dartboard won’t be in the way of foot traffic or hanging in a place where someone could accidentally walk into the game area.
2. Hang the Dartboard at the Correct Height
When it comes to hanging your dartboard, precision matters. According to official dart rules, the bullseye should be positioned exactly 1.73 meters (5 feet 8 inches) from the floor. This height is based on the average eye level of players and ensures a standardized playing experience. Use a measuring tape to get this height right, as even small differences can throw off your game.
If you’re mounting your dartboard on a cabinet or backing board, be sure to measure the height of the bullseye, not the top or bottom of the board itself. Getting this measurement right will help you play with the same accuracy you’d find at a professional tournament.
3. Set Up the Throw Line (Oche)
Now that your dartboard is hung at the correct height, it’s time to mark the throw line, also known as the oche. The standard distance from the dartboard face to the throw line is 2.37 meters (7 feet 9 ¼ inches) for steel-tip darts. For soft-tip darts (often used with electronic dartboards), the distance is slightly shorter at 2.44 meters (8 feet).
Mark the oche with tape, a piece of wood, or even a rubber mat for a non-slip surface. If you want to add a professional touch, you can install a raised oche, which is typically a small wooden or metal bar that players stand behind during their throw.
4. Protect Your Walls
Even if you’re a seasoned dart player, stray darts are inevitable, and they can cause serious damage to your walls. To avoid ugly holes or chipped paint, it’s a good idea to invest in some wall protection. A dartboard cabinet or a surround made from cork or foam can provide a protective barrier around the board, catching any darts that miss their target.
You can also create your own DIY backing using plywood, carpet, or old cork tiles to shield the wall and add a professional touch to your dart area. This not only protects the wall but can also enhance the look of your dartboard setup.
5. Lighting the Dartboard Area
Good lighting is essential for accurate dart play. You want to make sure your dartboard is well-lit without casting shadows that could interfere with your aim. A spotlight or adjustable wall-mounted light aimed directly at the dartboard is ideal.
Avoid relying on overhead lights that may cast uneven lighting or glare onto the board. Instead, opt for focused lighting to highlight the dartboard, making it easy to see the scoring areas without straining your eyes.
6. Double-Check Dartboard Rotation
To ensure your dartboard lasts longer, rotate the board regularly. Many bristle dartboards (the most common type for steel-tip darts) have removable number rings. By rotating the ring every few weeks, you can distribute wear evenly across the board, preventing overuse of certain sections like the 20.
This will extend the life of your dartboard and keep it looking fresh for longer, even with frequent use.
7. Secure the Dartboard Properly
Mounting the dartboard securely is crucial for consistent gameplay. Most dartboards come with wall-mounting brackets or screws, but you can also use a dartboard stand if you prefer a portable setup. Be sure the board is securely fastened to prevent any wobbling or movement when darts hit it.
For added stability, check the surface behind the board. A solid wall, such as wood or plaster, is ideal. Avoid mounting the dartboard on thin or hollow walls, as these won’t provide enough support.
8. Add a Dart Mat or Throw Line Marker
To complete your home dart setup, consider adding a dart mat or throw line marker. Dart mats not only protect your floor from falling darts but also come with pre-marked oche distances, making it easy to know where to stand. If you prefer something less intrusive, a simple throw line sticker or tape can be used to mark your spot.
Conclusion
Setting up a dartboard at home is easy when you follow the right steps. By carefully choosing your location, hanging the board at the correct height, marking the throw line, and protecting your walls and floors, you’ll create a perfect darting environment. Add some proper lighting and a reliable dart mat, and you’re ready to enjoy endless hours of darts fun, whether you’re practicing solo or hosting a friendly competition.
With your home dartboard setup complete, all that’s left is to grab your darts and start hitting those bullseyes! If you have any questions, write in the comment section!